If you wear shoes a lot or they're not of very good quality, the sole may come off. If this has just happened to you, don't worry. In the following guide we'll tell you step by step how to glue the sole of your shoes at home , easily, quickly and without having to spend money on shoemakers. Take a look!
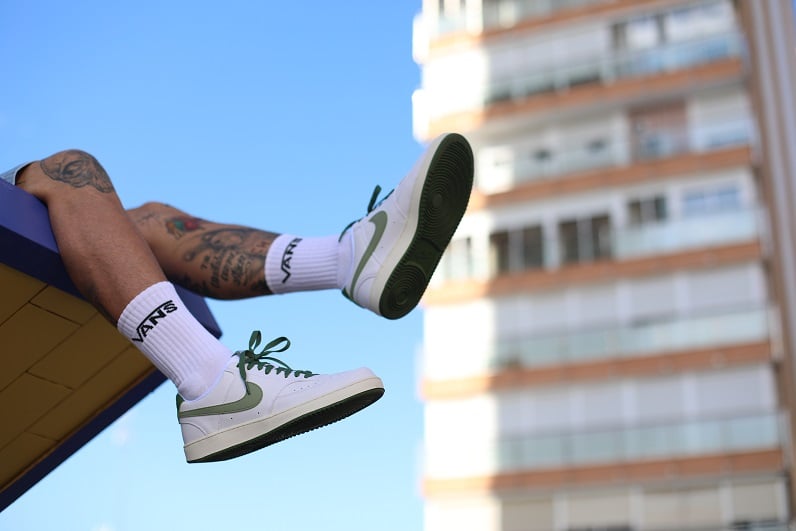
How to glue the sole of sneakers step by step
Fixing the loose soles of your sneakers at home is something you can do easily and at the same time save time and money .
Even if it seems like the end of the shoe, the truth is that you can fix it yourself. You just need to buy two things and have a little patience. We're not asking for much, are we?
If you want to try -and you have nothing to lose by trying-, pay attention:
What do you need to buy? Glue and sandpaper
First, you need to buy 2 things:
You don't need anything more than this, although during the procedure it will be useful to have a cloth to clean the excess glue. If you have trouble pressing with your hands, try to have some tweezers on hand to place them on the sole so that it adheres much better.
It is also important that you do this procedure in a well-ventilated place, with good ventilation to avoid inhaling glue fumes. Avoid a humid place.
With all this clear, we can take action.
How to glue the sole of sneakers step by step
1- Preparation of the sole to be worked
First of all, clean the surface of the sole thoroughly and make sure it is dry and free of dust and dirt. If there are traces of old glue, it is important that before applying more you carefully remove it using a spatula or knife, whatever you have at hand, until you are sure that it is completely clean.
2- Sand the surface of the sole
For best results, be sure to follow this step thoroughly. To do this, use hand sandpaper to sand both the sole of the shoe and the inner surface of the part of the sole that has come loose.
When you sand, you'll notice that a rough texture is created, which will improve the adhesion of the glue. When you're done, check with your fingers that it's completely smooth and wipe off any excess dust with a cloth. You can even vacuum.
3- Use the glue
The next thing you need to do to fix the sole of your shoes, with the entire base prepared, is to apply an even layer of glue on the sanded surface of the sole and also on the inner part of the sole that came loose.
Make sure to cover the entire area that needs to be glued with enough glue, but avoid applying too much glue so that it doesn't overflow. If that happens, don't worry, you can clean it up, but sometimes less is more.
4- Glue the sole carefully
After applying the glue, place the part of the sole that was peeled off in its place and press firmly to ensure good contact between the two surfaces.
If the glue sticks out, you can easily remove it with a damp cloth, a cotton ball soaked in acetone, or even a cotton swab. Whatever you have on hand, you can use it to repair your shoes and make them look as good as possible.
5- Hold the shoes for a while so that the glue adheres well.
For best results, hold the sole against the shoe for a while to ensure it sticks properly. If you get tired of squeezing with your hands or have any other injury and it hurts, use large pliers, tape or rubber bands to hold the shoe in place while the glue dries .
It is important to check that each and every part is aligned correctly and that it does not move while drying, since in that case it could turn out wrong and you might even have to start the whole procedure again.
6- Let it dry for as long as necessary
Finally, it is important to let it dry for as long as necessary. For best results, do not hesitate to follow the manufacturer's instructions, because although it usually dries quickly, it is better to wait a few hours .
It is important to do these things with enough time to spare, not 1 minute before you leave the house with your shoes. It is better to do it and let it dry quietly all day or all night. It is better to dry more than less.
7- Finally, check that the sole has been glued well.
Finally, once the glue has dried, check that the sole is properly attached. To do this, try to flex the sole a little to see that it is perfect and that there are no gaps. If it opens up after flexing it a little, that's bad, because you might have to start over.
Tips for better results
Now that you know how to glue shoe soles , all you have to do is follow these steps whenever you need to, for any type of shoe or sneaker.
For best results, keep these tips in mind:
In any case, it is a temporary solution that works very well and is key to giving your shoes a second life , which is no small feat. And all this for very little money.
We hope you find this guide on how to glue the soles of sneakers useful! And if you need new shoes, don't hesitate to take a look at our shoe store.

